Ugh, I’m a terrible pc build addict with a huge appetite for change and tinkering – I seriously can’t stop!
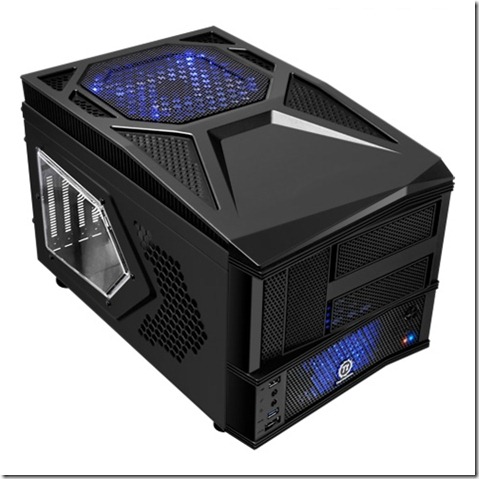
Anyways, I just finished putting my pc build into the Fractal Design Define Mini and I really loved it – but – it wasn’t that Mini plus I had this idea itching in the back of my head about my first SFF case, the Thermaltake Armor A30.
Now I’m the kind of person that loves a good underdog, (oxy moron?), and because of that I’ve never gotten rid of my Armor A30 case; people really beat up on this case saying that is has poor thermal management.
It’s thermal management is just fine if you’re putting sensible parts in the case and get a little creative perhaps – it’s not meant for extremely hot components, SLI or overclocking… out of the box muahahah.
I am in love with closed loop liquid coolers like the Antec 620, (which I’m sure people reading this blog have figured out by now), I also love a good challenge so I just had to try this crazy idea I had.
I recently received a bracket from DWOOD at overclock.net that allows the use of the Antec 620 cooler on my GTX 570 and I will never go back to the stock air cooler ever! I also since day one of my SFF adventures have used an Antec 620 on my Core i7 2600k so that I can overclock and keep things cool and quiet; I asked myself one day shortly after my Define Mini build – could I stuff all of that into my Armor A30 case?
I started to take a look at the A30 to see how I could modify it to fit what I wanted – two Antec 620s, after much measuring and test parts fitting I figured out how I was going to do it!
Commence the build!
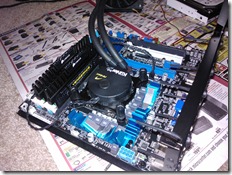
I began by stripping down the entire case installing an old m-ATX board and my GTX 570 with Antec 620 liquid cooler in the case to begin test fitment.
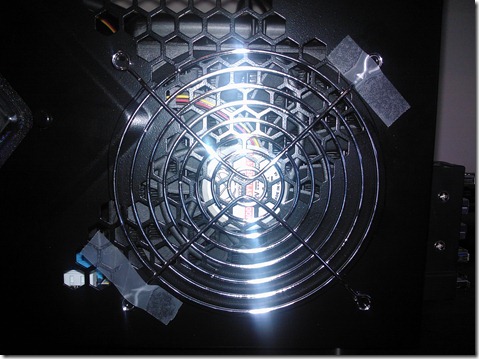
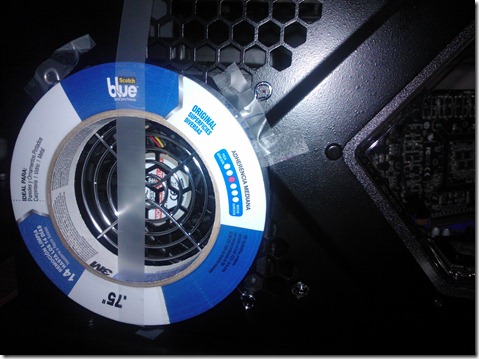
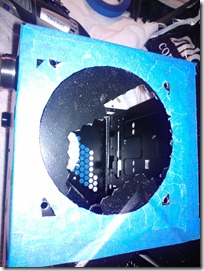
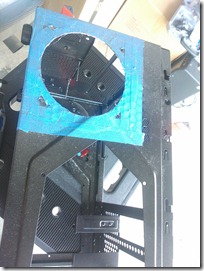
I taped up a fan grill to begin lining up everything against the Antec 620 radiator on the inside.
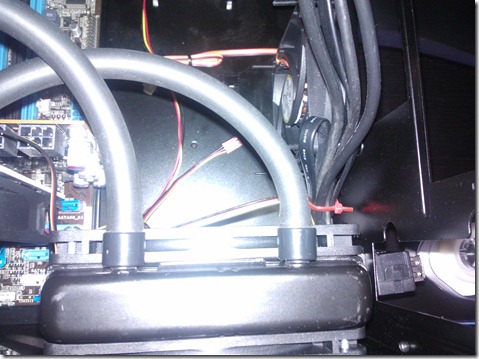
I also needed to make sure the usb, esata and audio port cables wouldn’t interfere with the radiator. There were no issues with the cables but any less room and this would’ve been a lot more interesting.
More measuring for the fan holes for the push pull configuration of the Antec 620s. Yes I used a tape roll as a template for the fan holes – that’s how I roll! (pun intended!)
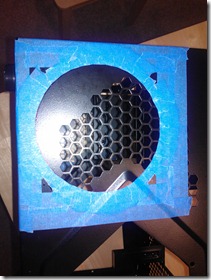
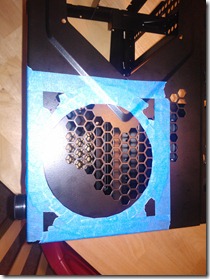
I then proceeded to tape everything off after using permanent marker to outline everything.
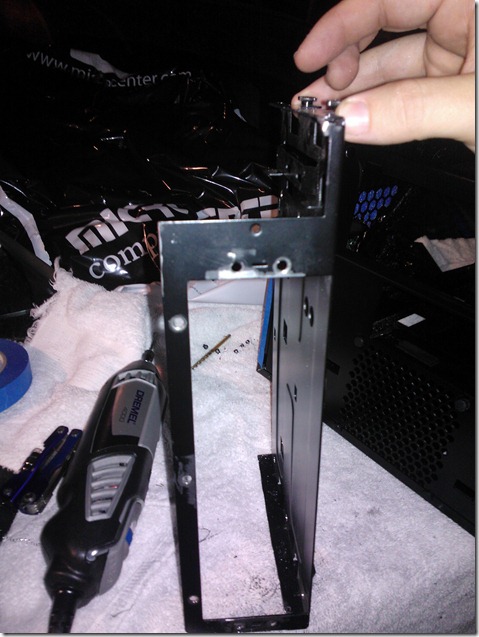
The front of the Armor A30 holds 2 x 5.25 bay drives, 2 x 2.5 drives and 2 x 3.5 drives – the mounting hardware for all of this was in the way of the dual Antec 620 placement and was going to need to be modified. My only requirement for this mounting hardware was to modify it to hold 2 x 3.5 drives for my RAID 0 configuration in my existing system; all other drives could be external as they aren’t really used all that much.
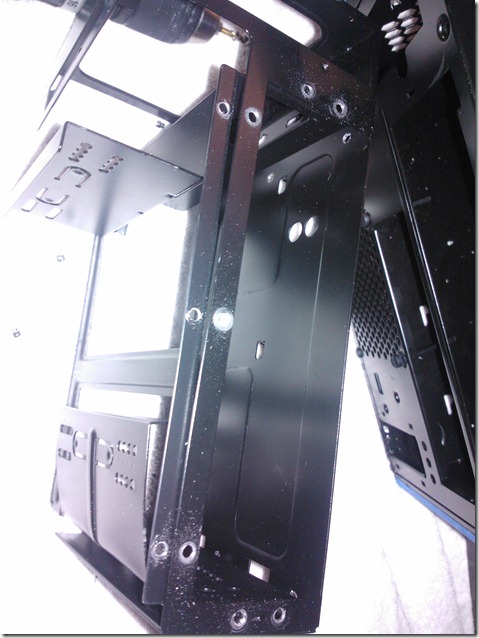
Above picture shows where rivets needed to be drilled out in order to remove the biggest bulk of the mounting hardware which was for the 5.25 drives.
The mounting hardware is now finished minus new holes that need to be drilled to mount my 2 x 3.5 hard drives, I left the front of the mounting hardware on in order to maintain some stiffness overall.
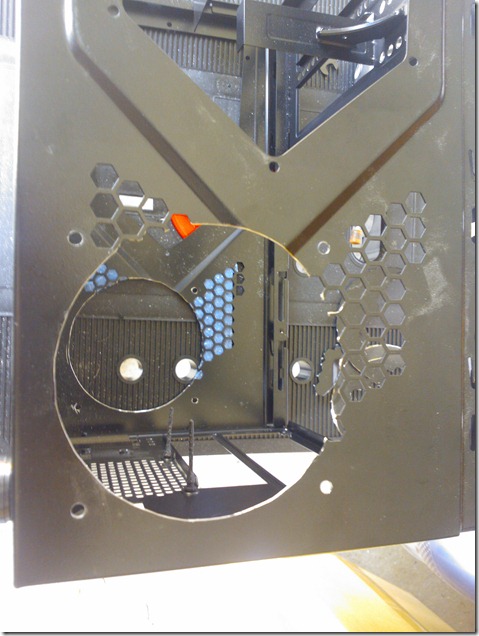
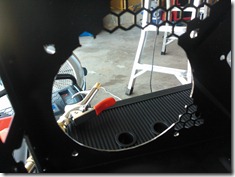
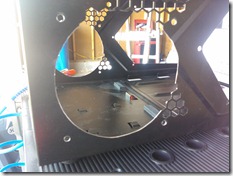
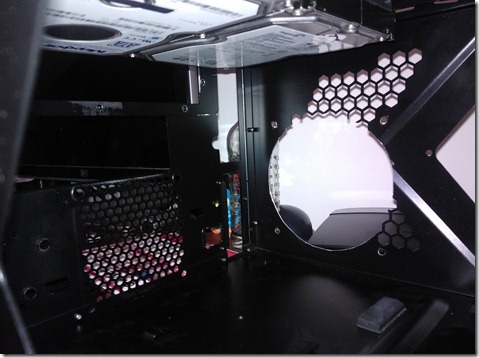
Next I started to cut out the holes on either side of the case, I attempted a couple of different Dremel bits and methods before I found that the cutoff wheel really is your friend when working with metal.
After cutting the holes out on either side it was time to take the tape off and begin de-burring and sanding all of the edges.
All of the sanding and de-burring complete I removed all of the shavings off the case and took everything back to begin the system build.
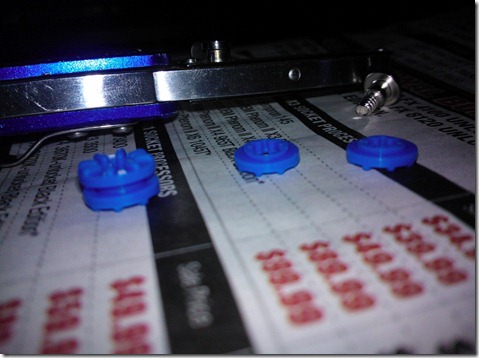
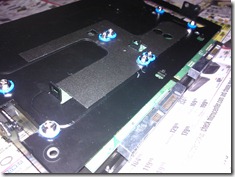
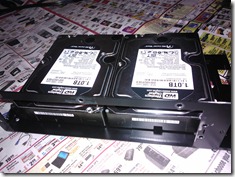
I had purchased a two hard drive silent mounting kit for the hard drives since they would be placed up against the modified mounting bracket and didn’t want to hear all the chatter they would make. I found that the rubber washers weren’t going to work for me the way they were so I cut each in half to place on either side of the mounting bracket.
Above you can see how I mounted the hard drives,this whole mounting bracket will slide right back into the stock position of the Armor A30. In the below picture I had a couple of hard drives installed for test fitment.
The old mounting bracket would’ve been hanging way too low and the radiators wouldn’t have fit.
Installing the motherboard is very easy in this case as it has a motherboard tray that slides out.
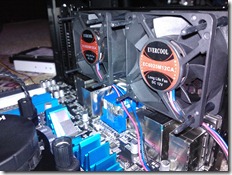
Above picture shows the two new Evercool 60mm fans I installed in the back, I switched the rear 60mm fans to intake air rather than exhaust. With the two push pull configured radiators in the front of the case being exhaust I didn’t want to have too much exhaust and not enough intake. These Evercool fans can spin up to 4500rpms and provide ~24 CFM @ 12V so plenty of air enters the system with these even at 2000rpms and they are quiet at the rpm.
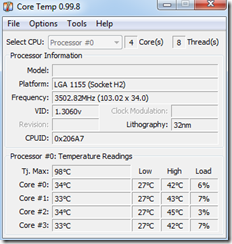
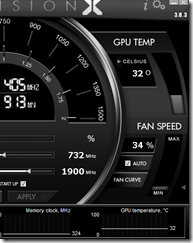
Idle temps for the CPU and GPU are fantastic and during load are still great with the CPU maxing out around 55c and GPU barely going above 45c.
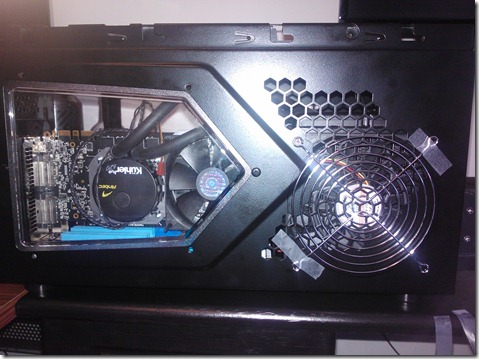
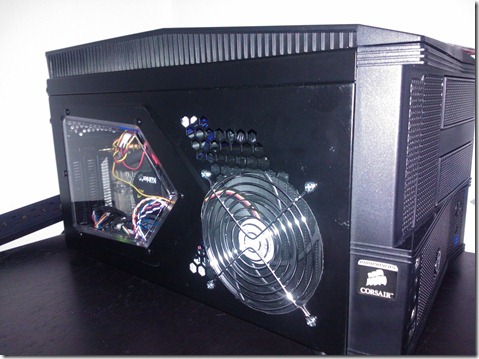
Here is a quick shot of the GPU side of the case showing the final build
I will be updating with more pictures of the inside of the system, it is completely put together but my phones battery died during the process of the final build so I didn’t take anymore pictures.
I’m waiting on a fan controller from Amazon for the two GPU fans and the top 200mm fan, currently they are using a Molex to 3 x 3pin adapter that’s making my nice cable management look nasty in the side window ha-ha.
Where exactly did you mount the CPU cooler? It looked like it was at the front where the 92mm fan was.
Hey there, I actually cut two holes on both sides of the case and mounted the CPUs Antec 620 on the right hand side beside of the 92mm fan and the GPUs Antec 620 to the left of the 92mm fan. I made the 92mm fan exhaust as the antecs were both sucking in cool fresh air… the idea was the create a wind tunnel kind of effect in the case as the back 60mm fans and the top 230mm fan were all intake as well.
The whole thing worked really awesome and kept everything extremely cool… miss that build a lot actually.
I just did a build similar to this, but the cpu is not cool at all. After about 20-30 mins with prime95 the cpu could sometimes reach temperatures of 90c. I did both the back 60mm fans intake, and also the 200mm on top is intake. The front is exhaust. Still the temperatures are crap. On idle it’s good 28-31c. But theyre insane on load. However i have not made any rad grill holes or any modding to the case except from removing front cage and swapping all fans with better ones. Could this be the problem?
Check out my pictures of the build.


My specs is
Motherboard: Asus Maximus VI Gene
CPU: Intel Core I7 4770K
Ram: G.Skill Sniper 2133mhz 1.65v
PSU: Corasai AX860
I know the Haswell Processors are know to be hot, But not that hot. And this is without any overclock. I’ve been planning to but a aircooled graphics card in there too. But with these temps im not quite sure anymore. Should i just give it all up and move to a different case?
Hey there KjoTTbein, sweet looking rig – I wanted to do a custom loop in the A30 to see what it looks like, looks awesome.
As far as temps go, what is your ambient? Also have you removed the waterblock from the CPU to see how the paste looks? I would take the cpu block off and check the paste and reapply your paste using the line method.
Also, how do you have your fans set for your radiator – they should be sucking cool air in from outside of the case.
What speed are you running the pump at? Is it PWM?
I’m sure it’s just something simple that’s keeping that sweet rig from really taking off, hopefully we can get it figured out 😀
Well, i have reaplied heatsink. Both time using pea method. I don’t think that’s the problem. Not quite suere about the temp inside the case as i have no tempgun or anything. The pump is an Alphacool Laing DDC-1T 12V pump connected directly to psu running fullspeed. all the time.
The radiator only got one fan which pushes air through the rad and out of the case.
If you’re front fan is exhaust and your rad fan is exhaust you’re not creating enough flow, I would recommend that you switch the rad fan to intake and keep the front fan as exhaust and see what that does for you.
That should lower your temps a lot I would imagine.
Will try. But only one exhaust fan? Should i reverse the 200mm and make it exhaust maybe also?
In small form factor cases one exhaust is perfectly fine and usually the sought after way to cooling such a small space. It’s really about acquiring the “positive pressure” effect where so much air is coming in that it essentially forces all the heat out.
Leave the 200mm as intake first and try that first, it’s definitely an experiment and every system is different but I had the best temps with only one exhaust and that was the front center 90mm fan.
Well, i turned the 120mm on the rad now so it’s pull intake.
Temps didn’t seem to be any better by doing this.
Any other ideas?
Wow, totally missed this comment – so sorry!
Don’t know if you’ve done anything different by now (wouldn’t blame ya if you did). Can’t recall if you told me already but what pump speeds are you running?
Pump is connected directly to the power supply. Full speed
However. Running push/pull and make the top fan exhaust seemed to solve it. It’s running maximum 75c now under full load after 12hrs stress test.
Thanks for youre help 🙂